В предыдущих статьях How to Become a Game Developer и Make content for the game “The Dark Castle” мы занимались теорией и контентом. Настало время практики. В этом уроке мы будем писать код в Visual Studio. Писать будем на C# с использованием технологии .Net Framework. Для начала скайте и установите Visual Studio Community Edition. Затем запустите Visual Studio и создайте новый проект со следующими параметрами:
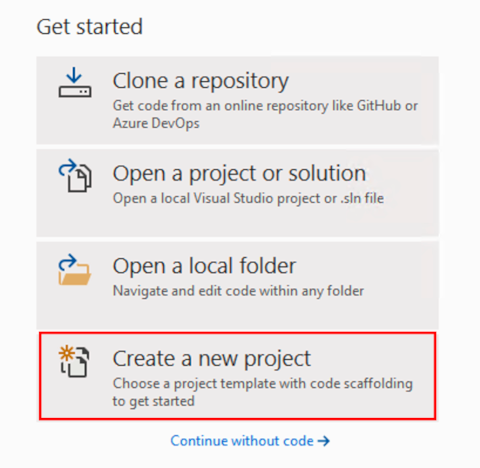 |  |
- Click Create a new project
- Select type of project «Windows Forms App (.Net Framework)
- Click Next
- Set Project Name TheDarkCastle.
- Click Create

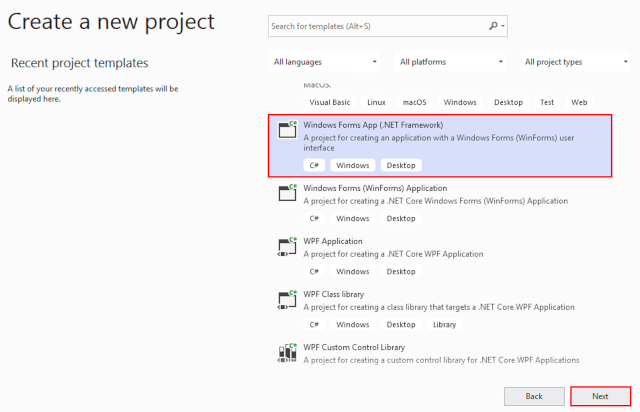
Project will be created. You’ll see main Visual Studio window with our project. Main Visual Studio window consist of:
- Form constructor (visualization)
- Solution Explorer
- Properties
- Output window
- Sidebar instruments (We will be use a Toolbox tab today)
Game menu Image
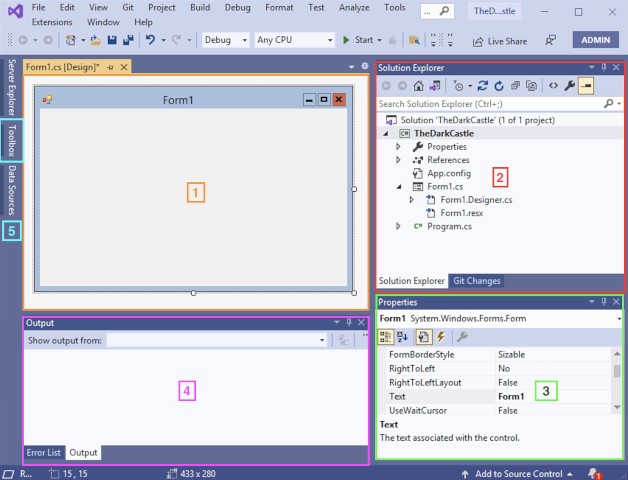
Let’s create a game menu. Open Toolbox Tab on sidebar and select PictureBox object. Then click on the Form surface to place picture box on Form.
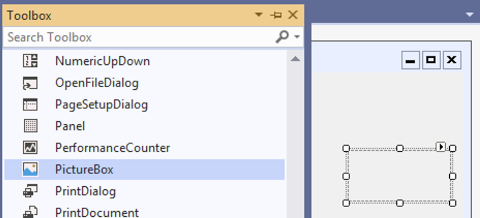
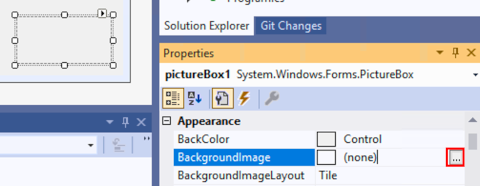
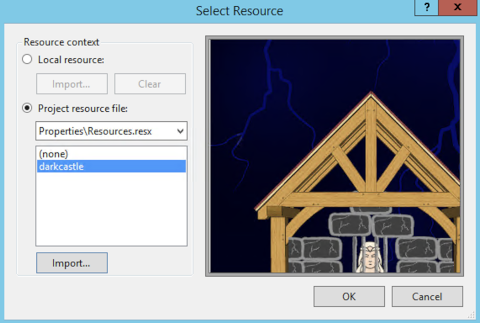
Click PictureBox object and find in Parameters «BackgroundImage». Click on «…» button, open Resources window. By clicking Import button load our game menu image and then click Ok.
 |  |
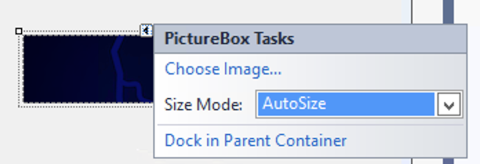
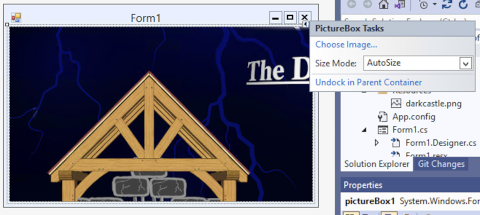
Now click arrow above PictureBox and set Size Mode to «AutoSize» and click «Dock in Parent Container».
 |  |
Change Form parameters. Click on the Top bar of Form in Form constructor windows and in the Parameters find «Size». Set 640;480
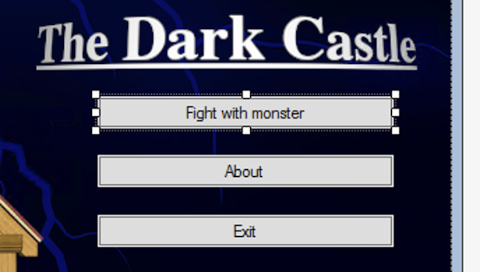
Game menu Buttons
Create Buttons. In the sidebar in Toolbox Tab select a Button object. Make three buttons «Fight with monster», «About» and «Exit». Use parameter «Text» to change button caption.
Add code of Exit Button
Make double click on Exit button. Code redactor opens. Write command Close(); like showing below.
private void button3_Click(object sender, EventArgs e)
{
   Close();
}
Now make a first start of our application. Click on Start button in the top menu of Visual Studio.

After building and application start you will see main window and after clicking on the Exit button application will be closed.
Add About Form
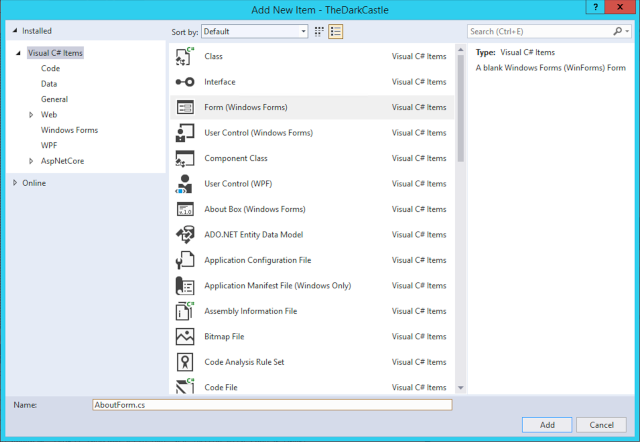
Let’s add form «about». In Solution Explorer right mouse button click on the TheDarkCastle solution and then select Add -> Form (Windows Forms)…

In the dialog of creating new form set the name of new form is AboutForm.cs. Then click Add.
Now add LinkLabel object on the AboutForm.
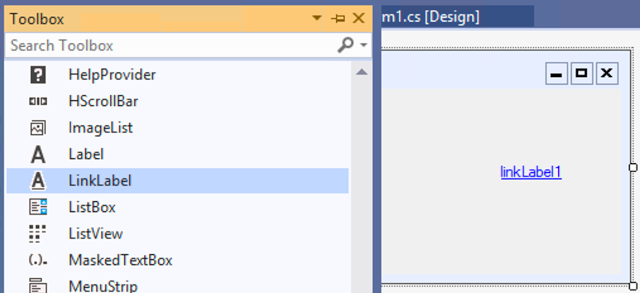
Double click on the linkLabel1 and type code like showing below.
private void linkLabel1_LinkClicked(object sender, LinkLabelLinkClickedEventArgs e)
{
   linkLabel1.LinkVisited = true;

System.Diagnostics.Process.Start("http://www.compupico.com");

}
Now make double click in Solution Explorer on the Form1.cs it open Form1 designer and then double click on the About button. Type code as showing below.
private void button2_Click(object sender, EventArgs e)
{
AboutForm myAboutForm = new AboutForm();
myAboutForm.Show();
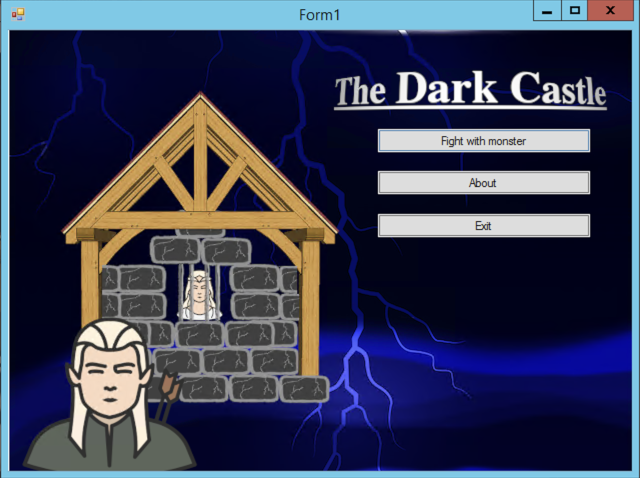
}Now Run our application. After you will see main window click About button. You must see something like that.
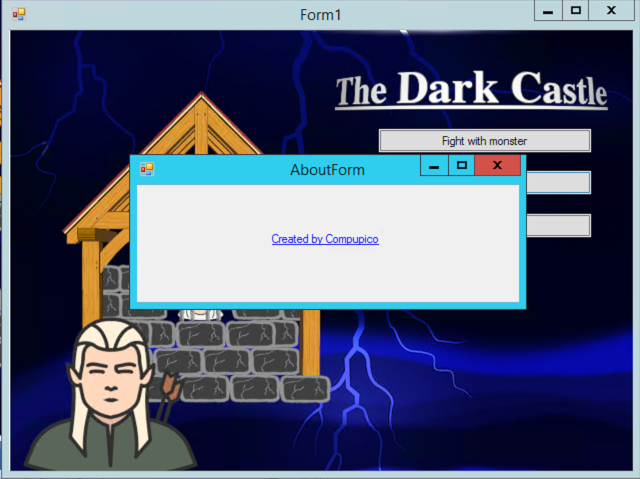
If you click «Created by Compupico» Label system must open browser and go to compupico.com page.
Add to project «Win» and «Loss» Forms
 |  |
Add «Fight with monster» Form
Add new form like showing in a previous chapter. Set name of the form is FightWithMonster.cs

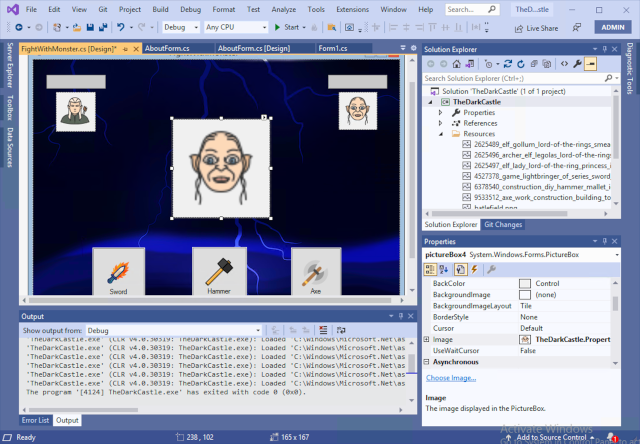
Like I write above in chapter «Game menu Image» create and setup object PictureBox with battle field image. Set Form size in 640, 480.
Add three PictureBox and set the parameter Image with relevant images of Prince and Monster as showing below. Also add three buttons and set Image parameter with relevant images of Sword, Hammer and Axe.
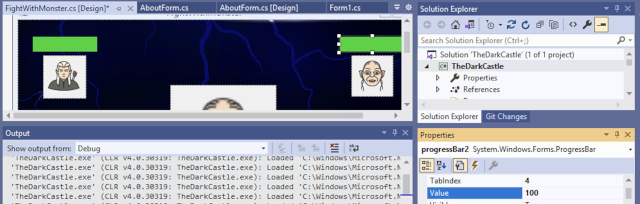
ProgressBar setup
Click on progressbar1 object and set the parameter Value = 100. Make the same with progressbar2 object.
Add Timer
Add Timer object on form, set the parameter Enabled = true, Interval = 1000.

Then click on timer1 object, opens code redactor. Type code as showing below.
private void timer1_Tick(object sender, EventArgs e)
{
if(progressBar1.Value > 20)
{
progressBar1.Value -= 20;
}else
{
Lose myLose = new Lose();
myLose.Show();
this.Close();
}
pictureBox4.Width += 20;
pictureBox4.Height += 20;
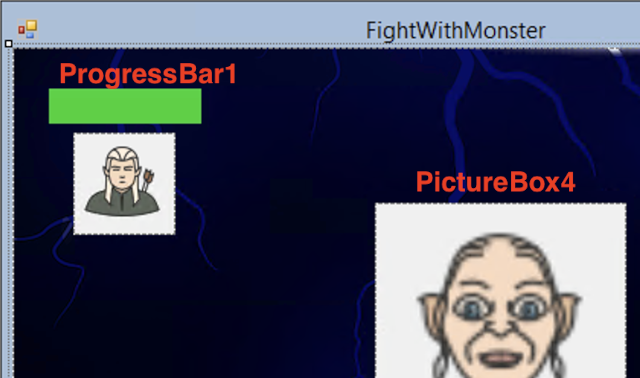
}In this code we decrease progressBar1 value and imitate health deterioration of Prince. If progressBar1 value will be less than zero we will be close FightWithMonster form and open Lose form. Also we change size of Monster Picture.
For correct working make sure that the progressBar1 locate near Prince image and pictureBox4 relevant Monster big image on the form. As showing below.
Weapons
Let’s programming weapons. Open «FightWithMonster» Form, double click on the «Sword» button and type code as showing below.
private void button1_Click(object sender, EventArgs e)
{
    if (progressBar2.Value > 5)
    {
       progressBar2.Value -= 5;
    }
    else
    {
       Win myWin = new Win();
       myWin.Show();
       this.Close();
    }
}
In this code we decrease progressBar2 value and imitate health deterioration of Monster. If progressBar2 value will be less than zero we will be close FightWithMonster form and open Win form.
Make the same with two other weapons buttons «Hammer» and «Axe». For every weapon you can use different impact force. Just change value in the string progressBar2.Value -= 5; For example, you can use 5 for «Sword», 10 for «Hammer» and 15 for «Axe».
That’s it
Congratulations, our game is ready! You can see results below and download source code of project here.